Transplanting a marijuana plant into a larger pot is essential for its growth and health as it matures. This guide will walk you through the steps to successfully transplant a marijuana plant, ensuring it thrives and prepares for the flowering phase. With the right timing and preparation, you can help your plant reach its full potential.
When to Transplant

- Timing: Transplant your marijuana plant during the third week of its vegetative growth phase. This timing is crucial to give the plant enough time to recover before it begins flowering.
Step-by-Step Guide to Transplanting
1: Prepare the New Pot
- Select a Pot: Choose a new container that is significantly larger than the current one. Ideally, it should be at least 2-3 gallons.
- Prepare the Soil:
- Fill the new pot about 2/3 full with a suitable soil mix.
- If using soil with organic fertilizers, prepare it at least 7-10 days in advance to allow beneficial microorganisms to develop.
- For plain potting soil mixed with perlite, this preparation time is less critical.
- Create a Bowl: Make a small bowl shape in the soil about 4-5 inches deep, slightly off-center.
2: Loosen the Soil
- Loosen the Edges: Use the handle of a spoon or a knife to carefully go around the edges of the current pot. This helps free the soil from the sides.
3: Remove the Plant
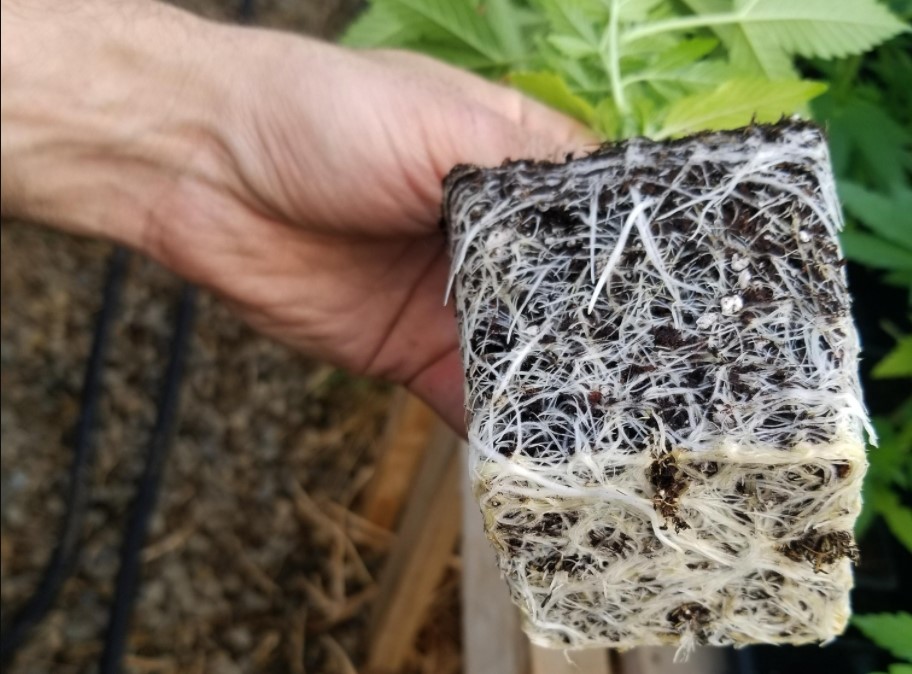
- Check the Roots: By this stage, the roots should be well-developed. If the plant is root-bound, it will be easier to remove.
- Turn the Pot Over:
- Support the stem and soil with your hand.
- Turn the pot upside down, gently shaking it as needed to release the plant.
4: Place the Plant in the New Pot
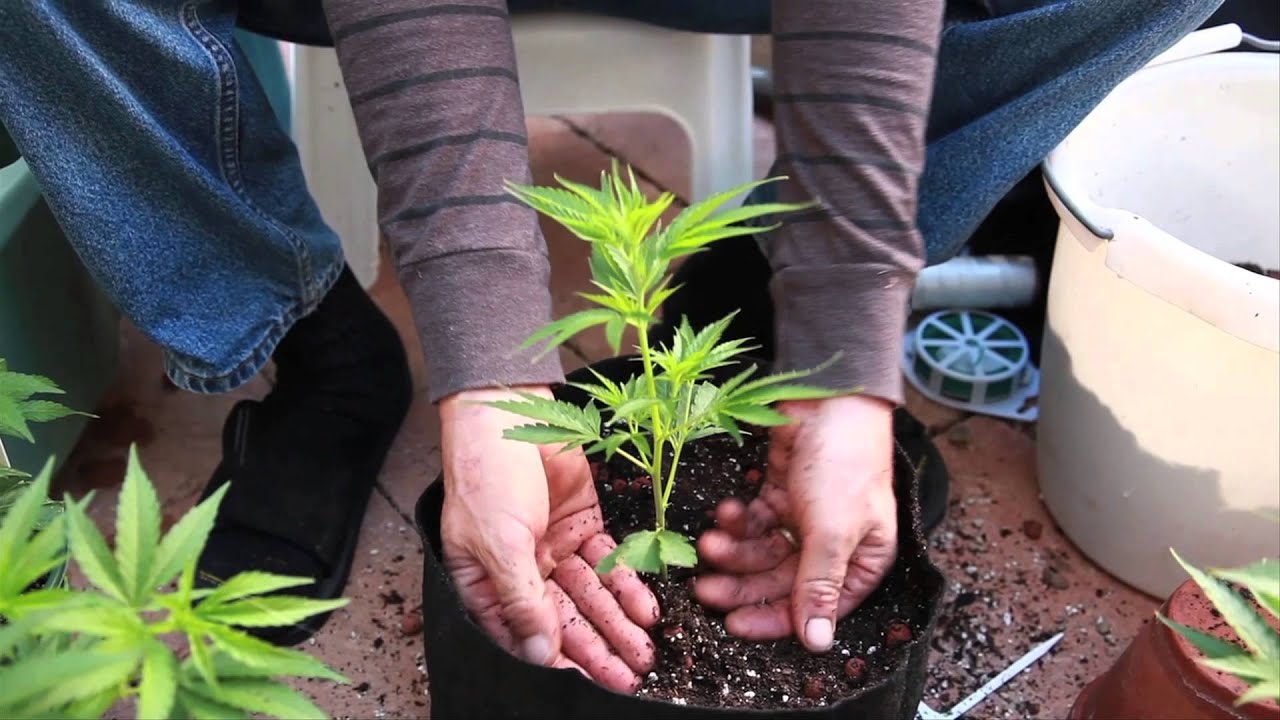
- Position the Plant:
- Place the freed marijuana plant into the bowl you created in the new pot.
- Ensure that the roots are spread out gently and not curled.
- Fill with Soil:
- Add more soil around the plant, filling it until it’s nearly at the top of the pot.
- Avoid compacting the soil too much; it should be loose enough to allow for air circulation.
5: Water the Plant
- Moisten the Soil:
- Use a spray bottle to lightly wet the top layer of soil. This helps settle the soil around the roots and provides moisture.
6: Allow Recovery Time
- Recovery Period: After transplanting, give your marijuana plant about one week to adjust and recover before transitioning it into the flowering phase.
Final Notes
- Time Investment: The entire transplanting process should take about 12 minutes from start to finish.
- Post-Transplant Growth: You should begin to see new growth within a few days as the plant adapts to its new environment.
By following these steps, you can successfully transplant your marijuana plant into a larger pot, ensuring it has the space and nutrients it needs to thrive. Happy growing!

