Cultivating cannabis is an art that demands attention to detail, and soil preparation is a fundamental part of this process. When growing cannabis, the soil acts as the life support system, providing your plants with essential nutrients, water, and air. This guide covers everything you need to know about preparing your soil for a successful cannabis cultivation journey.
Types of Soil Found in the Average Garden
Different types of soil have different characteristics, and certain types are more suitable for cannabis cultivation than others. Here are the three main types of soil you should be aware of:
1. Clay Soil
Clay soil is characterized by its dense, heavy texture and high mineral content. When wet, it forms tight, compacted clumps that can be challenging to work with. As it dries, it hardens into a solid mass, limiting root penetration and inhibiting proper drainage. While clay soil retains nutrients effectively due to its high cation exchange capacity (CEC), the lack of oxygen circulation can lead to root suffocation and poor plant health. Amending clay soil with organic matter such as compost or peat moss can improve its drainage and structure, making it more suitable for cannabis cultivation.
2. Sandy Soil
Sandy soil is composed of large particles with ample space between them, promoting excellent drainage and aeration. Its gritty texture makes it easy to cultivate, allowing roots to penetrate deeply and facilitating robust plant growth. However, sandy soil struggles to retain moisture and essential nutrients, leading to frequent watering and increased fertilizer requirements. To enhance sandy soil for cannabis cultivation, incorporating organic amendments like compost or aged manure can bolster its water-holding capacity and nutrient retention, ensuring optimal plant development.
3. Loam Soil
Regarded as the gold standard for gardening, loam soil strikes a perfect balance between sand, silt, and clay particles. This harmonious blend creates a crumbly, nutrient-rich medium that offers the best of both worlds: excellent drainage and moisture retention. Loam soil provides an ideal environment for cannabis roots to thrive, allowing for adequate aeration while holding onto essential nutrients and moisture. Its workable texture makes it easy to till and amend, offering a versatile foundation for cultivating healthy and vigorous cannabis plants. While loam soil is often found naturally in some regions, gardeners can enhance its fertility by incorporating organic matter and practicing sustainable soil management techniques.
Achieving the Ideal Soil for Cannabis Cultivation
Loam soil is generally the most preferred soil type for cannabis cultivation. It offers the ideal balance of drainage and nutrient retention. However, not every grower may have access to loamy soil. Don’t fret! With the right soil amendments, you can transform your existing soil into an ideal growing medium for cannabis plants.
The Significance of Cannabis Soil Preparation
Soil preparation can make a world of difference in the health and yield of your cannabis plants. Properly prepared soil can improve the soil’s texture and air/water ratio, enhance nutrient availability, boost root growth, and ward off harmful fungi. In addition, it can help you save money by reducing the need for additional fertilizers and pest control measures.
Improving Your Existing Garden Soil
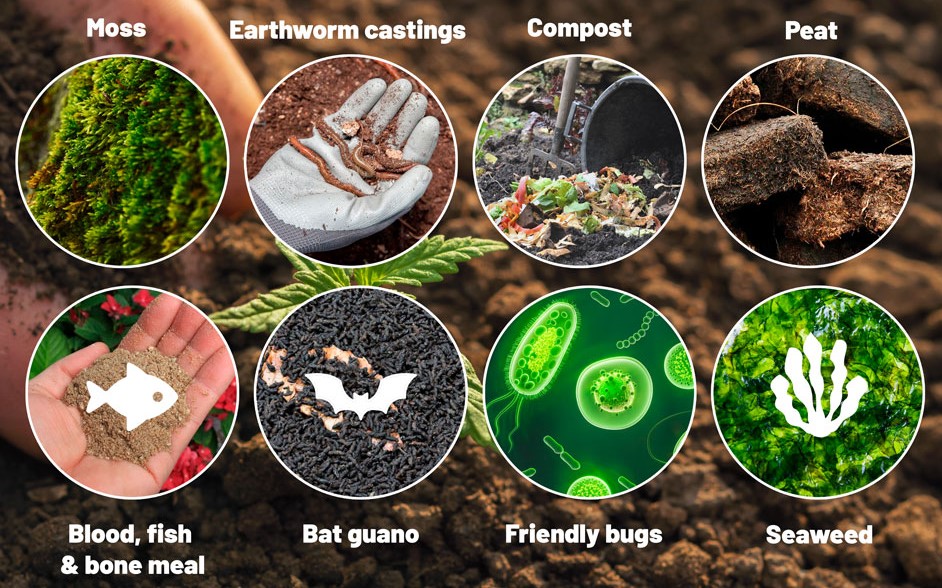
Enhancing the quality of your soil is crucial for successful cannabis cultivation, regardless of its initial composition. Fortunately, incorporating organic matter can work wonders in transforming your soil into a fertile and thriving environment for your plants. Here are some organic matter options to consider:
1. Compost
Compost is often hailed as the gardener’s “black gold” for its unparalleled ability to enrich soil fertility and structure. This nutrient-rich amendment is created through the decomposition of organic materials such as kitchen scraps, yard waste, and plant trimmings. Compost not only supplies essential nutrients to your plants but also improves soil texture, promoting better drainage and aeration. By incorporating compost into your soil, you can cultivate a healthy microbial ecosystem that supports robust plant growth and vitality.
2. Peat Moss
Peat moss is a valuable organic amendment renowned for its water-retention properties, making it particularly beneficial for sandy soils prone to rapid drainage. Derived from partially decomposed sphagnum moss, peat moss acts as a sponge, absorbing and holding moisture in the soil, ensuring a consistent water supply for your cannabis plants. Additionally, peat moss contributes organic matter to the soil, gradually breaking down to release nutrients and improve overall soil structure. Incorporating peat moss into your soil mix can help mitigate drought stress and optimize moisture levels, fostering optimal growing conditions for your cannabis crops.
3. Sawdust
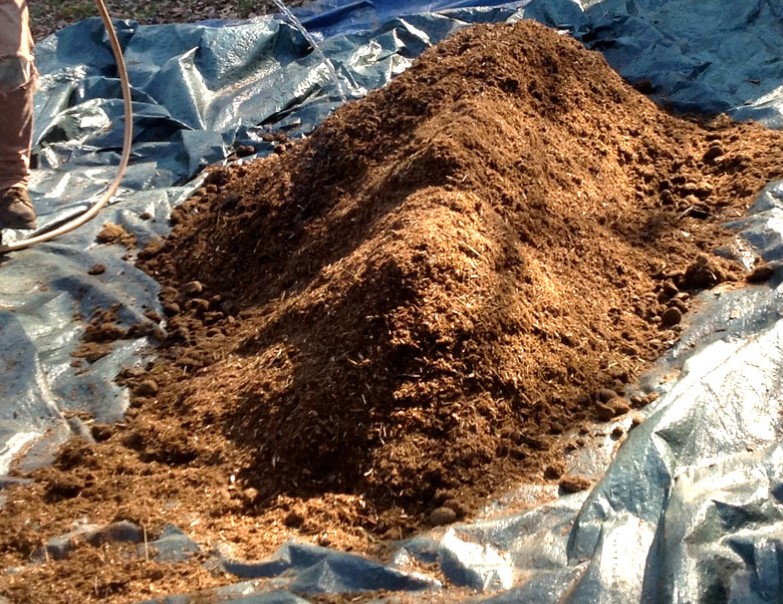
Sawdust, derived from wood milling operations, can serve as an effective soil amendment to enhance fertility and structure. Rich in carbon, sawdust aids in improving soil tilth and moisture retention when properly composted. However, it’s essential to compost sawdust before application to prevent nitrogen depletion in the soil. During the composting process, microorganisms break down the sawdust, releasing nutrients and stabilizing carbon-to-nitrogen ratios, ensuring optimal soil health and fertility. Incorporating composted sawdust into your soil can boost organic matter content, promote microbial activity, and support nutrient cycling, contributing to the long-term vitality of your cannabis plants.
4. Gypsum
For gardeners grappling with clay soils’ dense and compacted nature, gypsum can be a valuable ally in soil improvement efforts. Gypsum, a naturally occurring mineral compound, works by facilitating soil aggregation, effectively breaking up clay particles and improving soil structure. By enhancing soil porosity and friability, gypsum promotes better drainage and root penetration, mitigating the risk of waterlogging and root rot. Incorporating gypsum into clay soils can help alleviate compaction issues, making it easier to cultivate and manage your cannabis garden. However, it’s essential to use gypsum judiciously and in conjunction with other organic amendments to achieve optimal soil balance and fertility.
Creating a No-Till Living Cannabis Soil: A Comprehensive Recipe
No-till living soil has become a favored approach among outdoor and greenhouse growers who prioritize soil preservation and ecosystem health. Instead of disturbing the soil between grows through tilling or digging, this method relies on planting cover crops post-harvest, which naturally decompose and enrich the soil with organic matter. Cover crops such as cowpea, vetch, rye grass, and buckwheat not only prevent erosion and suppress weeds but also contribute to soil fertility. No-till living soil aims to minimize environmental impact by avoiding certain additives, such as bat guano or compost, due to concerns about their sourcing or potential chemical residues.
No-Till Living Cannabis Soil Recipe Chart
| Ingredient | 50-Liter Batch | 100-Liter Batch | 200-Liter Batch |
|---|---|---|---|
| Base Soil | 4 parts (12.5 L) | 8 parts (25 L) | 16 parts (50 L) |
| Coco Coir or Peat Moss | 1 part (3.125 L) | 2 parts (6.25 L) | 4 parts (12.5 L) |
| Perlite or Vermiculite | 1 part (3.125 L) | 2 parts (6.25 L) | 4 parts (12.5 L) |
| Well-Aged Compost | 1 part (3.125 L) | 2 parts (6.25 L) | 4 parts (12.5 L) |
| Worm Castings | 1 part (3.125 L) | 2 parts (6.25 L) | 4 parts (12.5 L) |
| Kelp Meal | 1 part (3.125 L) | 2 parts (6.25 L) | 4 parts (12.5 L) |
| Alfalfa Meal | 1 part (3.125 L) | 2 parts (6.25 L) | 4 parts (12.5 L) |
| Rock Dust | 1-2 cups | 1-2 cups | 2-4 cups |
| Mycorrhizal Fungi | 1-2 cups | 1-2 cups | 2-4 cups |
| pH Adjustment (if needed) | Per product instructions | Per product instructions | Per product instructions |
Instructions:
Mixing:
- Combine all ingredients in a large container or directly in your growing bed.
- Thoroughly mix the components to ensure even distribution.
Adjust pH:
- Test the pH of the mix and adjust if necessary using dolomite lime.
Moistening:
- Moisturize the soil mix with water until it reaches a good, crumbly texture. Avoid over-saturation.
Curing:
- Allow the soil mix to “cook” or cure for a few weeks before planting. This period helps establish a beneficial microbial community.
Planting:
- Once the soil is adequately cured, you can plant your cannabis directly into the no-till living soil.
Benefits and Composition of No-Till Soil
No-till living soil typically consists of a specialized blend of slow-release ingredients, ensuring prolonged soil fertility. Common components include wood, biochar, peat, rice husks, perlite, crab or crustacean shells, kelp, diatomaceous earth, blended mineral dust, and fish products. By relying on natural processes and fostering a rich soil ecosystem, proponents of no-till living soil assert that it yields cannabis with superior flavors and terpene profiles.
Steps to Prepare Your Cannabis Soil for Cultivation
Preparing your soil is a fundamental step in ensuring the success of your cannabis cultivation endeavor. Here’s a detailed, step-by-step guide to help you navigate this essential process while incorporating the principles of no-till living soil:
Step 1: Select Your Growing Area
Choose a location that receives ample sunlight, ideally 6-9 hours per day, and features flat ground to facilitate water distribution and root development. Look for signs of existing vegetation, including weeds, as they can indicate fertile soil conditions suitable for cannabis cultivation.
Step 2: Clean and Prep the Area
Clear the selected area of weeds, debris, and unwanted vegetation to minimize competition for nutrients and space. This initial cleaning process lays the groundwork for a healthy and productive growing environment.
Step 3: Aerate Your Cannabis Soil
Enhance soil structure and promote optimal root growth by aerating the soil to a depth of 8-10 inches. Utilize garden tillers or hand tools to loosen compacted soil, improve drainage, and enhance air circulation, creating an ideal habitat for beneficial soil organisms.
Step 4: Enrich with Organic Matter
Incorporate a diverse array of organic amendments, including compost, peat moss, sawdust, gypsum, and the specialized ingredients from the no-till living soil recipe. These materials enhance soil fertility, water retention, and microbial activity, fostering a nutrient-rich environment conducive to robust plant growth.
Step 5: Level the Cannabis Soil
After amending the soil, ensure a uniform planting bed by leveling the surface with a rake or hoe. This promotes consistent water distribution, seedling emergence, and ease of cultivation throughout the growing season, optimizing plant health and productivity.
Optional: Utilize No-Till Living Soil Recipe
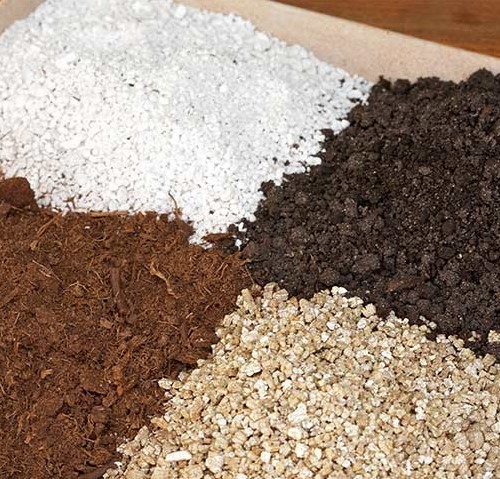
For those embracing the principles of no-till cultivation, the provided recipe offers a comprehensive blend of slow-release nutrients and organic matter. By following the recommended ratios and incorporating ingredients such as base soil, coco coir or peat moss, perlite or vermiculite, well-aged compost, worm castings, kelp meal, alfalfa meal, rock dust, and mycorrhizal fungi, you can create a nutrient-rich living soil mix that supports healthy plant development while minimizing environmental impact.
Wrapping Up
Soil preparation might seem like a lot of work, but the results are worth the effort. With the right soil preparation, you can ensure that your cannabis plants have the best possible environment to thrive and produce high yields. So, roll up your sleeves and get your soil ready for a successful cannabis cultivation journey.


