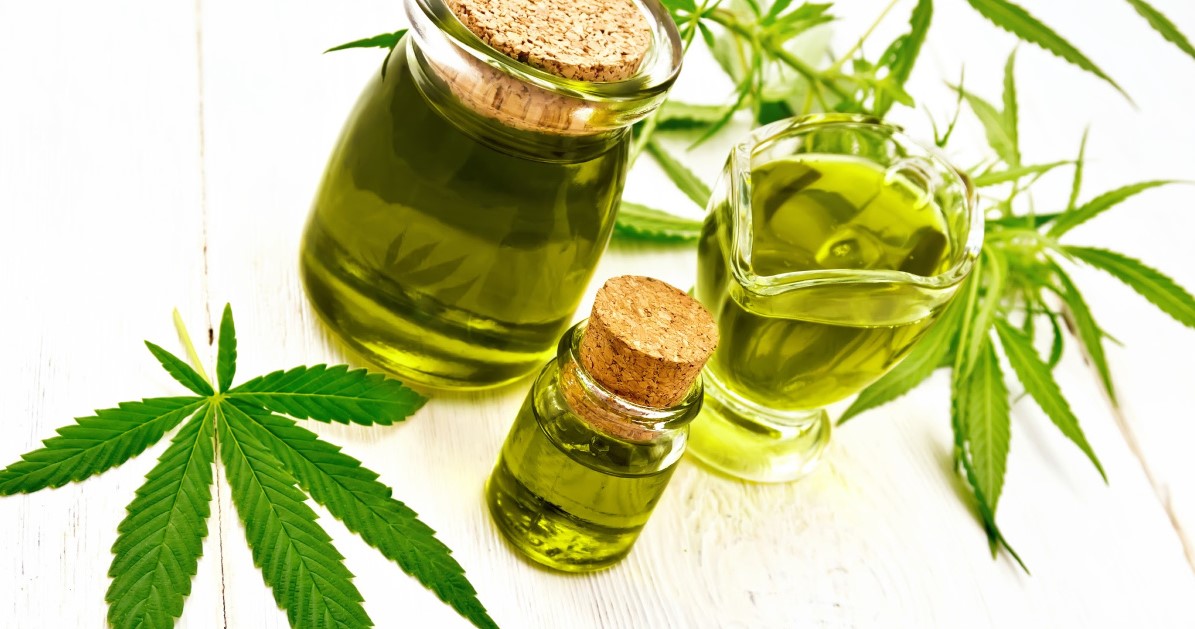
Alcohol-free cannabis tincture, made with organic vegetable glycerine
Making alcohol-free cannabis tincture is easy and ideal for people who are sensitive to alcohol. This cost-effective production method is a cannabis tincture that is made on the basis of organic vegetable glycerin. The recipe for it that we bring to you in this post is fully customizable.
You can use any cannabis strain you want, of course, but you can also use potent trimmings (sugar leaves), as well as flower, hash, and kief. This alcohol-free tincture takes at least 60 days to make because it takes longer to release the cannabinoids from the plant than if it were done with alcohol. However, very little effort is required.
Making alcohol-free cannabis tincture procedure
Step 1: Ingredients and Utensils
Ingredients :
Food-grade vegetable glycerin
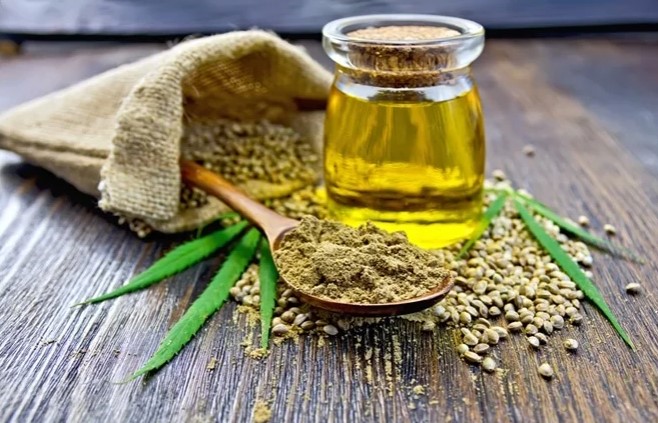
5-10 grams of decarboxylated cannabis flowers, petals, hash or kief
Utensils :
Mason jar 400ML
Filter bag/nut milk bag/pass cloth
Glass bottles for storing the tincture (preferably with a dropper)
Step 2: Preparation
First, the cannabis used must be decarboxylated to convert the cannabinoids. THCa and CBDa are converted into THC and CBD.
Decarboxylation is easily accomplished at home by baking the dried ground buds or leaf material in the oven at a low temperature for a given amount of time.
Depending on which cannabinoid you wish to most preserve consult the chart below. Each cannabinoid will decarboxylate at a specific temperature over a different period of time.
GENERAL DECARB TEMPERATURE RECOMMENDATIONS
| Decarboxylate cannabis from THCA to THC | Bake at 240° F for 40 minutes |
| Decarboxylate cannabis from CBDA to CBD | Bake at 240°F for 1.5 Hours |
| Decarboxylate cannabis from CBGA to CBG | Bake at 220°F for 1 Hour |
| Decarboxylate cannabis from THC to CBN | Bake at 240°F for 3 Hours |
The cannabis flowers should be crushed before placing them in the jar. Use a grinder or break up the buds with your hands (after decarboxylation).
You should clean all utensils well with hot water or ideally disinfect them before using them.
Since this tincture is taken orally, it is very important to pay attention to hygiene!
Step 3: Pickle and infuse cannabis
Fill the jar at least 3/4 full with your decarbed cannabis if using flower or leaf. Don’t stuff it in, place it in loosely.
Once in, pour the vegetable glycerin over it until the cannabis is completely covered.
Infuse cannabis in vegetable glycerin for at least 60 days.
Not much needs to be done in 60 days. However, if you don’t forget, then you should rotate the jar once a day to mix and distribute again.
Step 4: Strain the alcohol-free Cannabis Tincture
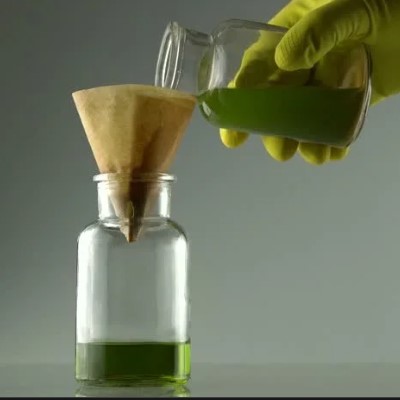
To strain the tincture, use a sieve that is not too coarse. A filter bag/nut milk bag/straining cloth that is placed over a suitable container is best suited for this purpose.
You can also place the filter (filter bag/nut milk bag/strainer) in a colander and thereby strain the tincture into another container.
Pour the entire contents of the mason jar into the filter bag and leave overnight if possible. It will take a long time to drip it all through! Put it in a clean, cool place where it cannot be knocked over.
After straining, you can transfer the cannabis tincture, freed from the plant residue, back into a sealable container and from there into a small dropper bottle.
Step 5: Storage and Use of alcohol-free cannabis tincture
Vegetable glycerine has a shelf life of 14 to 24 months, so we reckon it can be stored for at least a year without issue! We ended up with about 300 ML of the tincture. We store it in the fridge.
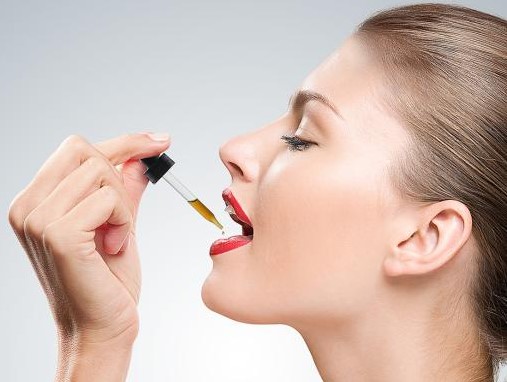
Just take a few drops orally. You can take it straight or add it to tea, coffee or whatever else you drink. The vegetable glycerin gives the tincture a sweet taste, so it goes well with drinks and smoothies. 🙂
The strength of the tincture depends on the potency and amount of cannabis flowers used, so keep this in mind when dosing!


Thx for the great recipe, trying it tomorrow, wish me luck.
I have it with my morning tea, a great way to start your day 🙂