
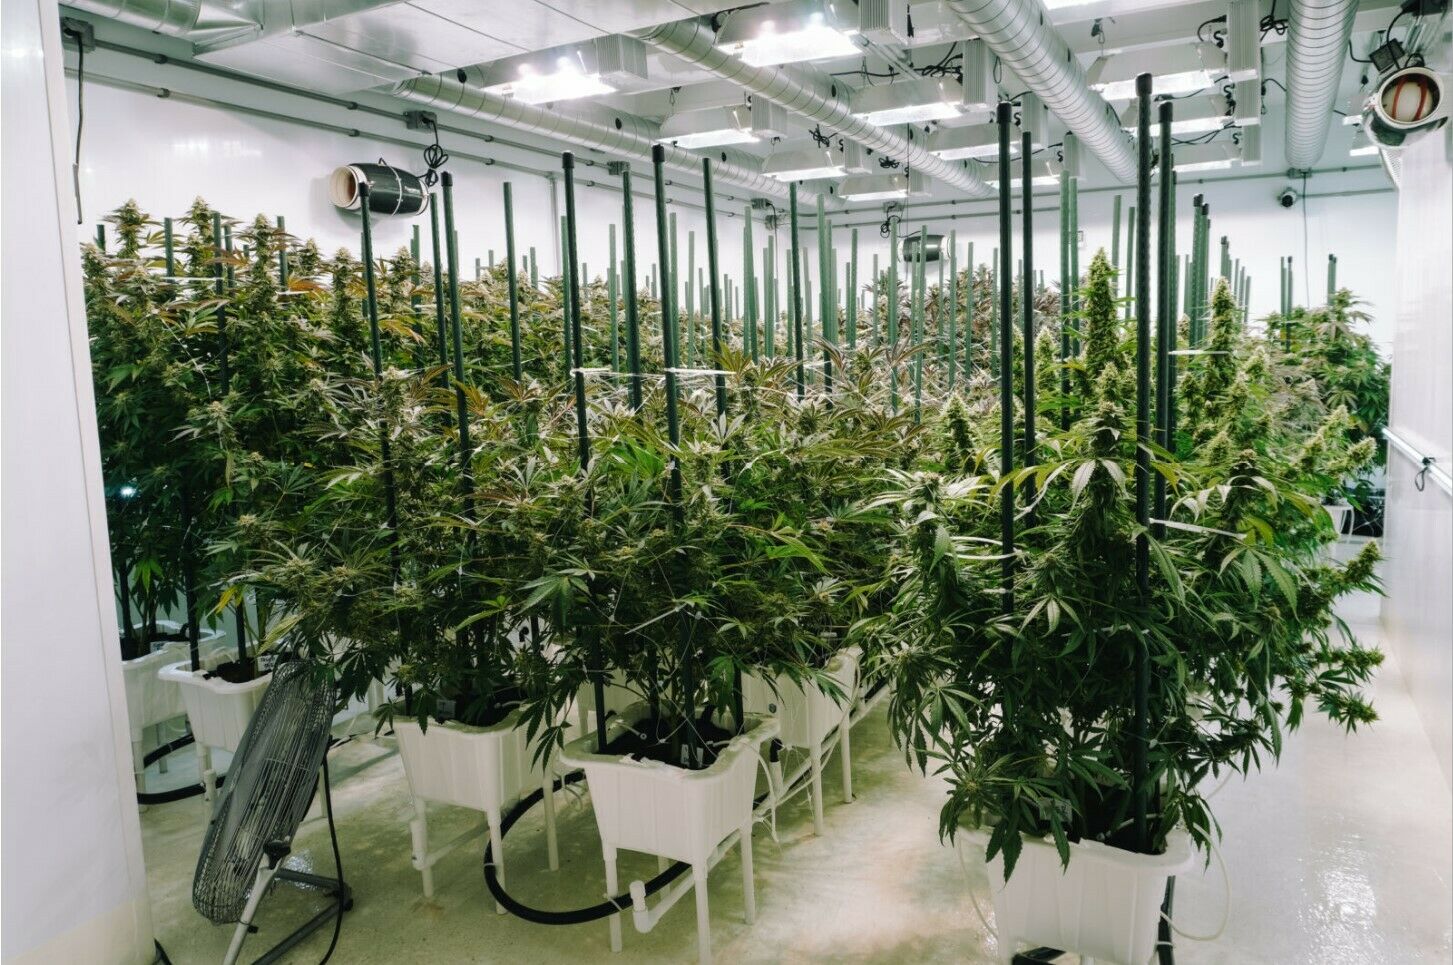
This grow guide will show you how to design and set up a perpetual harvest grow room from start to finish for beginner and intermediate growers. I will show how to take an extra 12’x14′ room and turn it into a one pound per month grow operation on a shoestring budget.
With these methods, you can produce as little or as much marijuana as you want. The only thing required to achieve the grow room of your dreams is a small amount of capital, the knowledge shown below, and the willingness to put in the effort.
Grow Room Basics
We will be working with one single room measuring 12’x14′ in size. We will be harvesting six plants every four weeks. The room will have a space to veg the plants as well as two HPS lights for flowering so we can ensure a one-pound per month harvest. You will need to have 20 – 30 amps of power for this room (more on this later).
Plant Numbers
The number of plants will be entirely dependent on how many plants you can legally grow. In this guide, we will have 12 flowering plants and up to 18 plants in the veg stage at any given time. This will keep you legal in some areas. It’s always best to check your local laws and adjust if needed. Many people don’t realize you’re in control of how big your plants are. You can grow your plants as big or as small as you need.
Need more marijuana from fewer plants? Not a problem, simply keep them under 18 hours of light and 6 hours of darkness until they are big enough to satisfy your needs. This is called the vegetative or veg stage and is sometimes referred to as 18/6.
When your plants are big enough simply flip them to the flowering stage by changing the light cycle to 12 hours on/off they will begin budding. This is known as the flowering stage.
Perpetual Harvest
To achieve one harvest every month you need to stagger your plants. It takes about 8-12 weeks from the start of flowering (12/12 light cycle) before your plants will be ready to harvest. We need half of our plants 4 weeks older than the other half to pull down one harvest per month.
The key to a successful perpetual grow is having plants in the veg space ready to go into flower every 4 weeks. We only have one room to work with so we need a light-proof area where we can constantly veg plants with 18 hours of light and not interfere with the light cycle of the flowering plants. A grow tent works great for this and is very inexpensive and easy to set up.
Lighting
3 different types are commonly used for marijuana grow room setups.
CFL – fluorescent
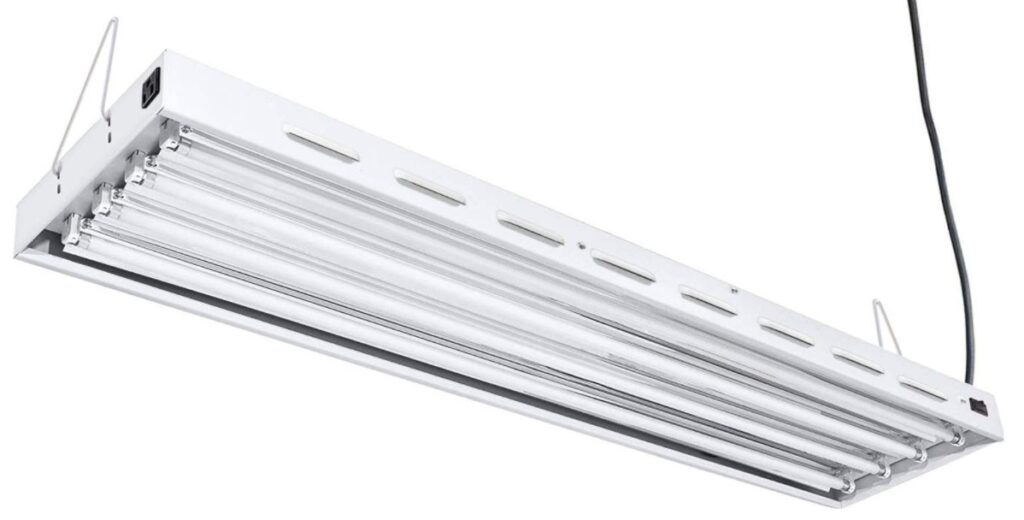
These are the lights you generally see in office buildings or garage workshops. For growing you need the high-powered alternatives which are referred to as “T5 fluorescent grow lights”. T5 lights aren’t powerful enough to produce the harvest we are looking for so we will just use these to veg the plants.
High Pressure Sodium/Metal Halide (HPS/MH)
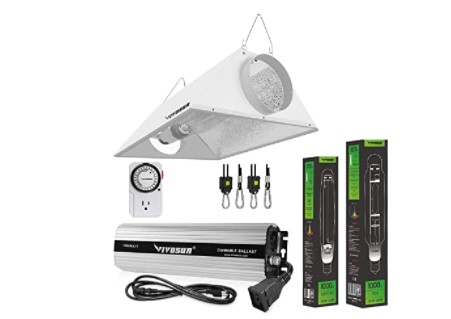
These are the most common source of light for marijuana grow rooms today. They are powerful, work very well, are relativity inexpensive, and can produce some of the highest quality buds. We recommend all cannabis growers use HPS/MH lighting.
LED
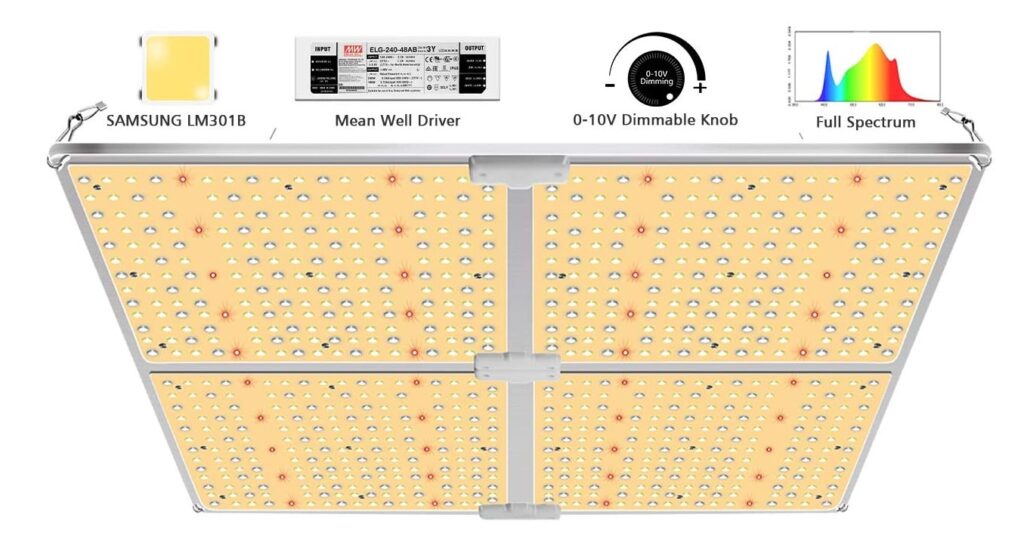
LEDs are pretty new to the market. The benefits are less heat production and a better light spectrum. However, a lot of poorly made led grow lights exist and the prices are currently extremely high. For beginners, I would skip these altogether.
To save money on electricity we will be using 1 high-powered fluorescent grow light for the veg space and 2 600 watt HPS lights for the flowering space.
Soil Setup
We will be using a soil mixture as our growing medium. Soil is less expensive, easier to set up and maintain, and more user-friendly than hydroponics.
Grow Medium Selection
Plain Soil – This is the typical soil you would see at a local garden center or your backyard.
Peat-Based Mixture (soilless soil) – A soilless medium is usually made of peat moss and perlite and it is the most popular growing medium for cannabis.
Perpetual Harvest Grow Room – Required equipment
This is the equipment that you need to purchase in order to get your grow room set up and running. This will take you from seed to harvest in most situations. Depending on your climate you may need some additional equipment such as air conditioners (for hot climates or the summertime), dehumidifiers (for humid environments), or humidifiers (dry environments)
-600-watt ballasts X 2
-600-watt bulbs X 2
– reflectors and light socket X 2
-1 4 foot 8 tube fluorescent light or another 600 Watt Fixture
-3 timers
-12 5 gallon buckets
-18 1/2 gallon containers
-2 Bales of Soil
-1 quart of Cannabis Fertilizer
-3 box fans
– carbon filter with 6″ centrifugal fan
– 8″ exhaust fan
– 20’x20′ tarp
-Sheets of plywood
-Hygrometers
Make your life easy equipment
-Environmental Controllers
-Lighting Controllers
- Seasonal and Regional Equipment
- Dehumidifiers
- Humidifiers
- Air Conditioner
- Space Heater
Timers
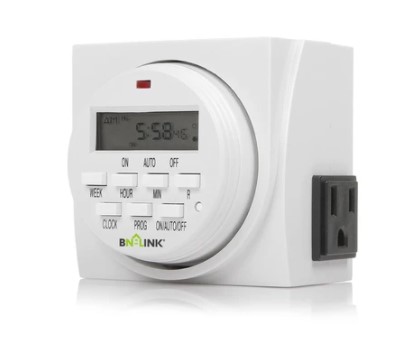
To control your light source all you need is a simple timer. Most “grow timers” sold at hydro shops are low quality. We recommend a heavy-duty timer from Intermatic because they are reliable and actually less expensive (about $10) than timers marketed for growers.
These timers also work great for fans, exhausts, carbon filter setups and anything else you need to control. If you want more of a hands-off approach you can invest in environmental controllers which are advanced timers that turn on and off devices based on temperatures, humidity levels, and more. They simply make it easier to create a dialled environment.
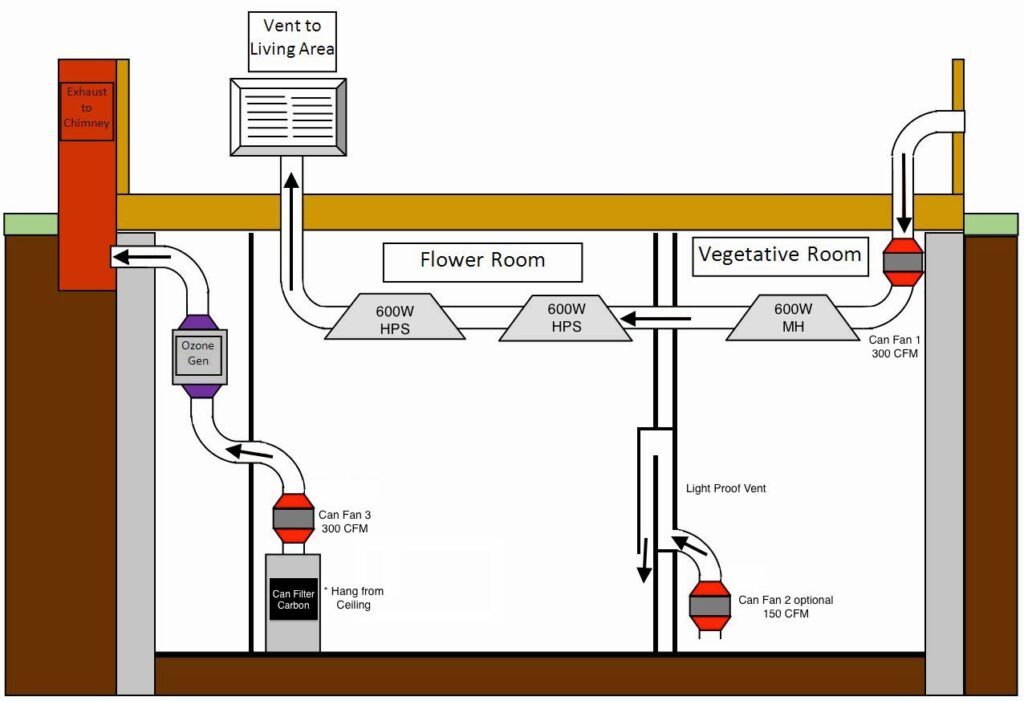
Perpetual Harvest Grow Room – Fans and circulation
One of the most often forgotten aspects of designing and building a marijuana grow room is proper and adequate air circulation.
Many people think circulation and ventilation are the same things. Ventilation is exchanging (removing and adding) the grow room air while circulation is moving the air within the grow room around.
Lack of air circulation can cause many diseases to cannabis such as mosaic virus disease, mould, mildew and more.
Constant airflow by your plants (never directly blowing onto your plants though) is key to being able to run high humidity and not have problems with mould, mildew, and other diseases. As long as there is adequate circulation these things will not be a problem.
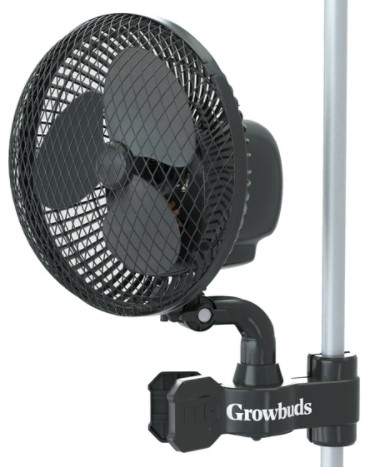
There are three general types of fans:
- Turbo fans – Turbo fans don’t move much air, they use about 60 watts of electricity.
- Box fans – Box fans can move a lot of air, use about 100 watts.
- Oscillating wall or floor fans – Oscillating wall or floor fans move a lot of air with the added benefit of being able to oscillate and the eco efficiency models only use about 50 watts but they are slightly more expensive.
For the marijuana grow room we will be setting up that has two separate areas (veg space and flowering space) we would recommend at least 3 to 5 fans.
Pots
In this grow setup we will be using 3 different sized pots. We will start the seeds in solo cups because they are inexpensive, move them to quart pots, and then transplant them to 5-gallon pots.
Many growers also use smart pots and air pots.

Smart pots are fabric pots that allow the roots to breathe and have better growth. They are a bit more expensive than standard pots but well worth the cost because they allow for a great root structure.
Air pots are plastic pots that are designed similar to an egg carton. This causes the roots to not become root-bound and provides a better overall root mass. Air pots are slightly more expensive than smart pots.
Perpetual Harvest Grow Room Design and Setup
Prepping the room:
Do the following
- Remove everything from the room.
- Clean the floors, walls, and window sills.
- Place a heavy duty tarp on the ground and secure it to the base of the wall.
- Block out the window(s).
- (optional) Place reflective material on the walls
Grow Room Power and electrical usage – very important. ***
When designing a marijuana grow room you need to know is how much available power you have. Most houses have a 100amp or 200amp panel, this means you’ll be able to run approx ~9500 watts or ~19000 watts for the entire house. This does not mean your room will be able to run that many watts.
Most rooms are wired on a 20 amp breaker. That means you’ll have approximately 1900 watts to use unless you run an extension cord from outlets on a different breaker. Before you assume you have 20 amps to work with you need to double-check.
Go to your breaker panel and find the breaker that your room is hooked up to. If you aren’t sure, turn a light on in the room and keep flipping breakers until the light goes out. Look at the breaker for that room, does it say 15 amps or 20 amps? If it’s only a 15 amp breaker then you only have 1400 watts to work with.
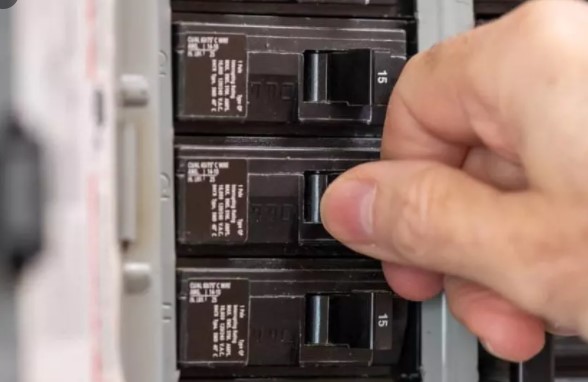
Important note: Many homes have multiple rooms hooked up to the same breakers. In order to test this turn on one light in each room of your home and then flip the future grow rooms breaker off. If it affects another room this means those two rooms are wired together. This isn’t a bad thing but you do have to account for any electricity being used in the other room(s) that are connected to the same breaker.
Wiring an additional breaker and outlet to a room can be an easy task to do however we recommend consulting an electrician so you don’t burn your home down.
Electricity Consumption
Between the 2 600 watt lights, the 200-watt veg light, the 3 fans (100 watts each on high) and the exhaust and carbon filter (150 watts each) That brings us up to 2000 watts which are very close to the maximum wattage of a 20 amp breaker (the true max is 2400 watts but you don’t want to run more than 85% continuous load or 2040 watts)
This means that if you need to run anything else (like a dehumidifier or air conditioner) you are going to have to run an extension cord to power them. If you are on a 15 amp breaker you are going to have to wire another outlet or run an extension cord to power the fans. A 15amp breaker can only run about 1500 watts safely. If your breaker is shared between another room you are going to have to stop using all electricity in that room or risk flipping a breaker, or worse, an electrical fire.
Perpetual Harvest Grow Room – Ballast Setup and Mounting the Lights
Now that the room is prepped and ready to go the first step will be setting up the ballasts.
A ballast has two plugs, the power plug and the socket plug. Plug the power plug into a wall timer and set it for 12 hours on and 12 hours off. Plug the socket plug into the reflector that the light bulb is hooked up to. If you can it is best to place the ballast outside the room so the heat generated will not be more heat added to the room.
Mounting the reflector is easy. Simply find the studs in the ceiling and screw two metal hooks into it. Then hook one ratchet strap to each and hook them to the mounts on the reflector. Screw the light bulb in and you are finished.
Carbon filter setup

Place the carbon filter on the ground somewhere out of the way and insert a fan on top of it sucking the air through the filter and up out the fan. If you need more information on you can read our extensive guide on carbon filters
Exhaust
For this grow setup we will be active air exchange to provide fresh CO2 for the plants and to keep the temperatures in the acceptable range. In order to do this, we need to have an exhaust duct that vents directly outside. You have 3 options for this.
Venting into the basement or attic.
The key to venting into a basement or attic is to pipe the air directly outside. Do not exhaust the air directly into the attic or basement. The excess heat and humidity of your grow room will likely cause mould growth if the basement or attic does not have its own proper ventilation. You need to run the vent from the grow room and attach it directly to the nearest exit.
If you are venting into an attic that will be the gable vent. If you are venting into a basement that will be a basement window. Venting into an attic is more efficient because since heat rises the hottest air will be towards the top of your grow room. Venting through the attic is also more stealthy because it is farther away from where anyone would be walking. To set up the vent cut a hole the size of the fan in the ceiling, mount the fan, and connect it to ducting that is long enough to attach to the nearest gable vent. If you are on the first floor and do not have the ability to vent into the attic your next best option is to cut a hole in the floor and run venting through the basement and attach it to the nearest basement window.
Venting out a window.
If you do not have the luxury of being able to cut through your floor your only other option is to vent directly out a window. When done properly this can be effective and lightproof. However, it does require leaving a window open and unlocked with a loud fan blowing directly onto the blinds. This can be less than stealthy if you have people walking nearby.
One advantage you have is only needing to run the exhaust for the 12 hours the flowering lights are on. You can set the exhaust for the 12 hours people are less likely to walk by. You can read our “how to vent out of a window” guide for more information on how to properly set up a window vent if you need to use this method. But first I do want you to seriously consider the possibility of venting through the ceiling or floor first. When you are done it can be very easy to patch a ceiling and many types of flooring.
Intake
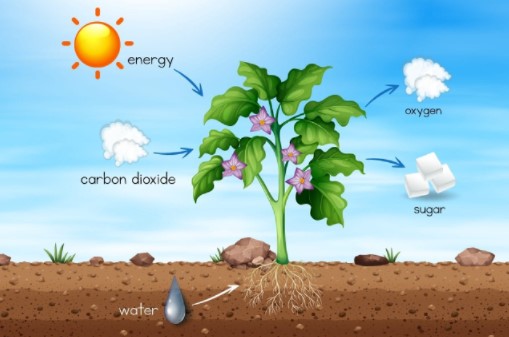
Plants use CO2 and expel oxygen.
In order to have a successful grow you need to replace the CO2 in the room. This requires an intake as well as an exhaust.
You must decide where you are going to intake air from. It is best to intake air from your house where it is already conditioned. If you have ventilation ducts already in the room you are lucky. If not you will have to create your own.
You can cut holes in the walls, ceilings, or floor. You can set up an intake through a window (just as you would for an exhaust) or you can remove your door and build a replacement door that has an intake hole. This will entirely depend on the space you are working with. You will have to make that decision yourself.
Setting up the veg space
Since we are only working with one room for this grow we need to divide our flowering and our veg space into two separate areas. You do not want any light interference from the veg space while the lights are off in the flower space. The veg lights have to run 18 hours a day while flowering plants require 12 hours of light. Any light interference (aka light leaks) can cause the plants to not transition into flowering.
Perpetual Harvest Grow Room – Plant rotation
Since we will be harvesting six plants every four weeks we need to have six fully vegged plants ready to be moved from the veg tent to the flowering area every four weeks.
We also need to plant six seeds every four weeks. This is going to ensure that you always have plants ready to be transitioned into flowering every month.
Every plant will receive eight weeks of veg time and eight weeks of flowering time.
Secrets to a successful Perpetual Harvest Grow Room
Controlling temperatures
Marijuana plants thrive at temperatures between 76 and 82 degrees F during lights on and around 66 to 72 degrees F -lights off.
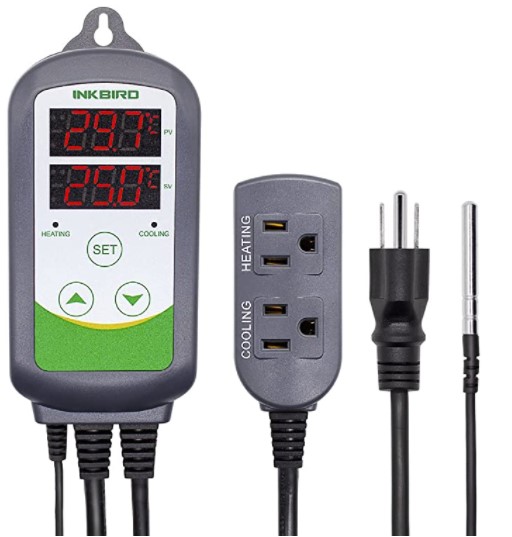
For optimum growing your perpetual harvest grow room you want to make sure your lights on and lights off temperatures are within 10 degrees of each other. Maintaining the correct temperature range is very much depends on the climate you live in and the particular time of year it is.
There is no “one size fits all” approach when it comes to controlling temperatures. This will entirely depend on your to test and adjust accordingly. This is another reason that environmental controllers can make your life so much easier. With a proper setup, they can make those adjustments for you and maintain the dialled environment your grow room needs with much less work by you.
Pro tip: Run your flowering lights at night time when it is cooler outside.
Just understand to keeping temperatures ideal throughout the year will require constant adjustments. Controlling temperatures is a very easy concept however it can require constant tweaking to keep your room dialled into the ideal environment.
You can do this with simple on and off timers but environmental controllers can make it much easier. They can be programmed to turn on and off exhausts based on the temperature as well as the time of day. Many of them even have separate day and night settings so you can keep your grow room even more dialled.
Perpetual Harvest Grow Room – Controlling Humidity
Marijuana plants are tropical plants and thrive best at humidity levels between 65% and 75%.
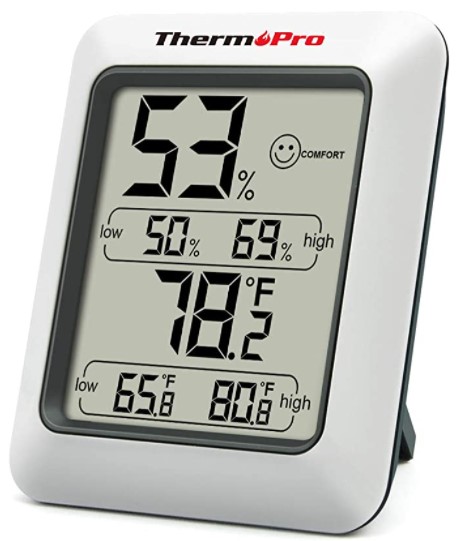
Humidity is often called the “hidden force” of growing. It is something that is extremely important to your plant’s overall health but something that is often overlooked by many
Many people falsely believe that high humidity will cause mould when in fact it is a lack of circulation.
Controlling humidity is similar to controlling the temperature where your method will vary based on the time of year and your climate. If you live in a humid climate you might need constant dehumidification. If you are in a dryer climate you might need constant humidification. In most climates, you will need a combination of both depending on the time of year.
HPS or MH for flowering?
Many growers wonder if high-pressure sodium or HPS is for the flowering or veg stage and whether metal halide or MH is for the flowering or veg stage.
Many growers recommend MH during the Veg stage and HPS during flowering. We however recommend HPS during veg and flowering but for this grow we will be using fluorescent lights for the veg space.
Grow Room Etiquette of the Perpetual Harvest Grow Room

1. Water below the knees, electricity above the waste.
In a grow room you will be dealing with water and electricity in a small area. For this reason, you want to take certain precautions. I recommend always keeping anything electrical like ballasts above the waste and keeping any water below your knees. If you have a water leak this can help prevent accidental fires.
2. Double check all plugs
Before you start any electrical equipment it is always a good idea to check to make sure all electric cords are fully plugged in. This can be especially dangerous for ballasts. Some of them have been known to catch fire if the lamp socket cord is partially unplugged. This means you should check your cords on a regular basis.
3. Check Timers
Occasionally timers can fail or malfunction. This can cause the light cycle for your plants to get disrupted. It is always a good idea to double-check timers to make sure they are functioning and have the correct time.
4. Replace bulbs
All bulbs fade over time, some faster than others. For T5 lights you will want to replace them once every year. For HPS bulbs you want to replace them once every 6 months.
5. Keep it clean
A dirty grow room can cause a lot of problems. It can give a place for bugs and critters to hide. It is always best to keep anything not absolutely required out of the grow room. You also want to keep all the leaves picked up from the floor.
6. If something smells funky, investigate
If you get any sort of funky smell that isn’t coming from your plants it is always best to investigate. Many times before equipment fails it will make a strange smell or noise. You should always investigate those so you can stop using faulty equipment.
HAPPY GROWING
I grow autos so I don’t have to build a separate room